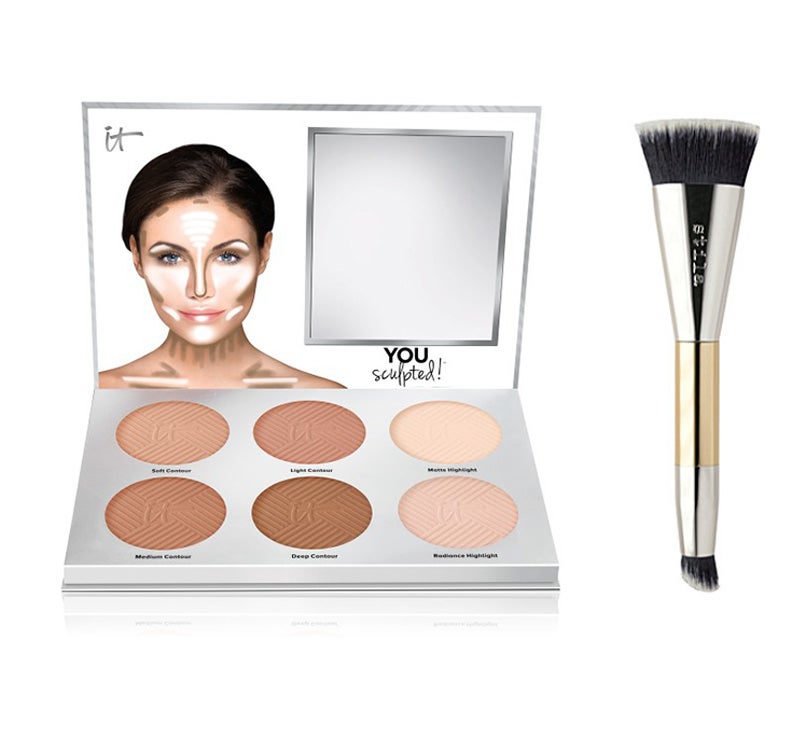
Choose between a powder, gel or cream contour blush. I like to use powder or gel-based products because they are easier to work with. If you can’t find your perfect shade, try mixing two complimentary pigments together (i.e. light and medium or medium and deep). We love It Cosmetics “You Scultped” Contouring Palette ($40, at itcosmetics.com). You’ll also need an angled contour brush like this Stila Shape & Shade Custom Contour Brush ($38, at sephora.com)
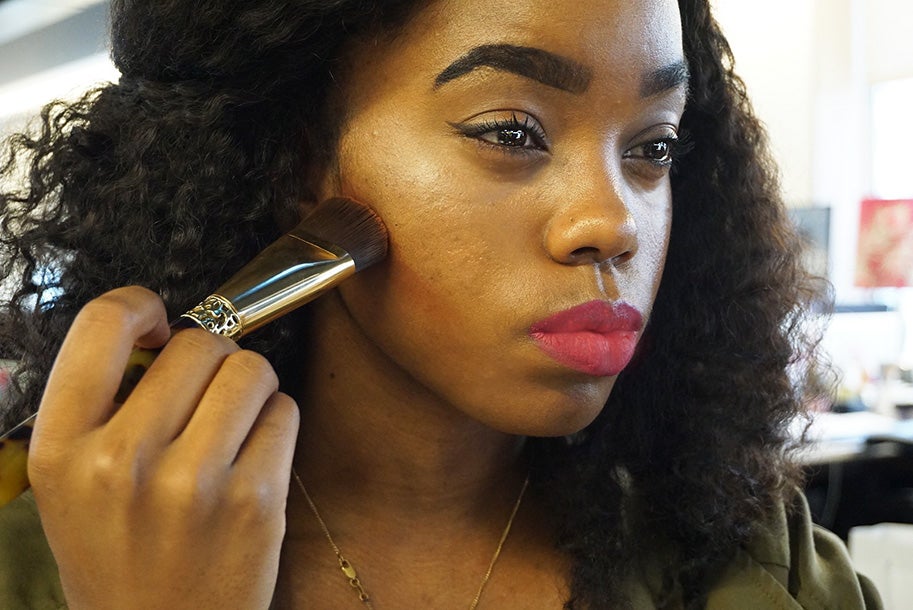
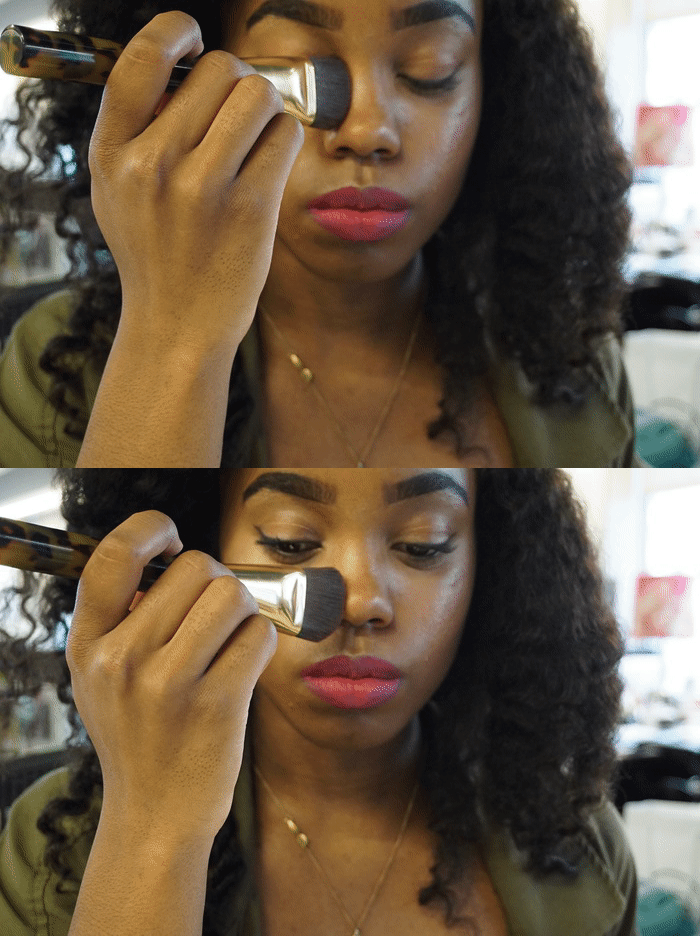
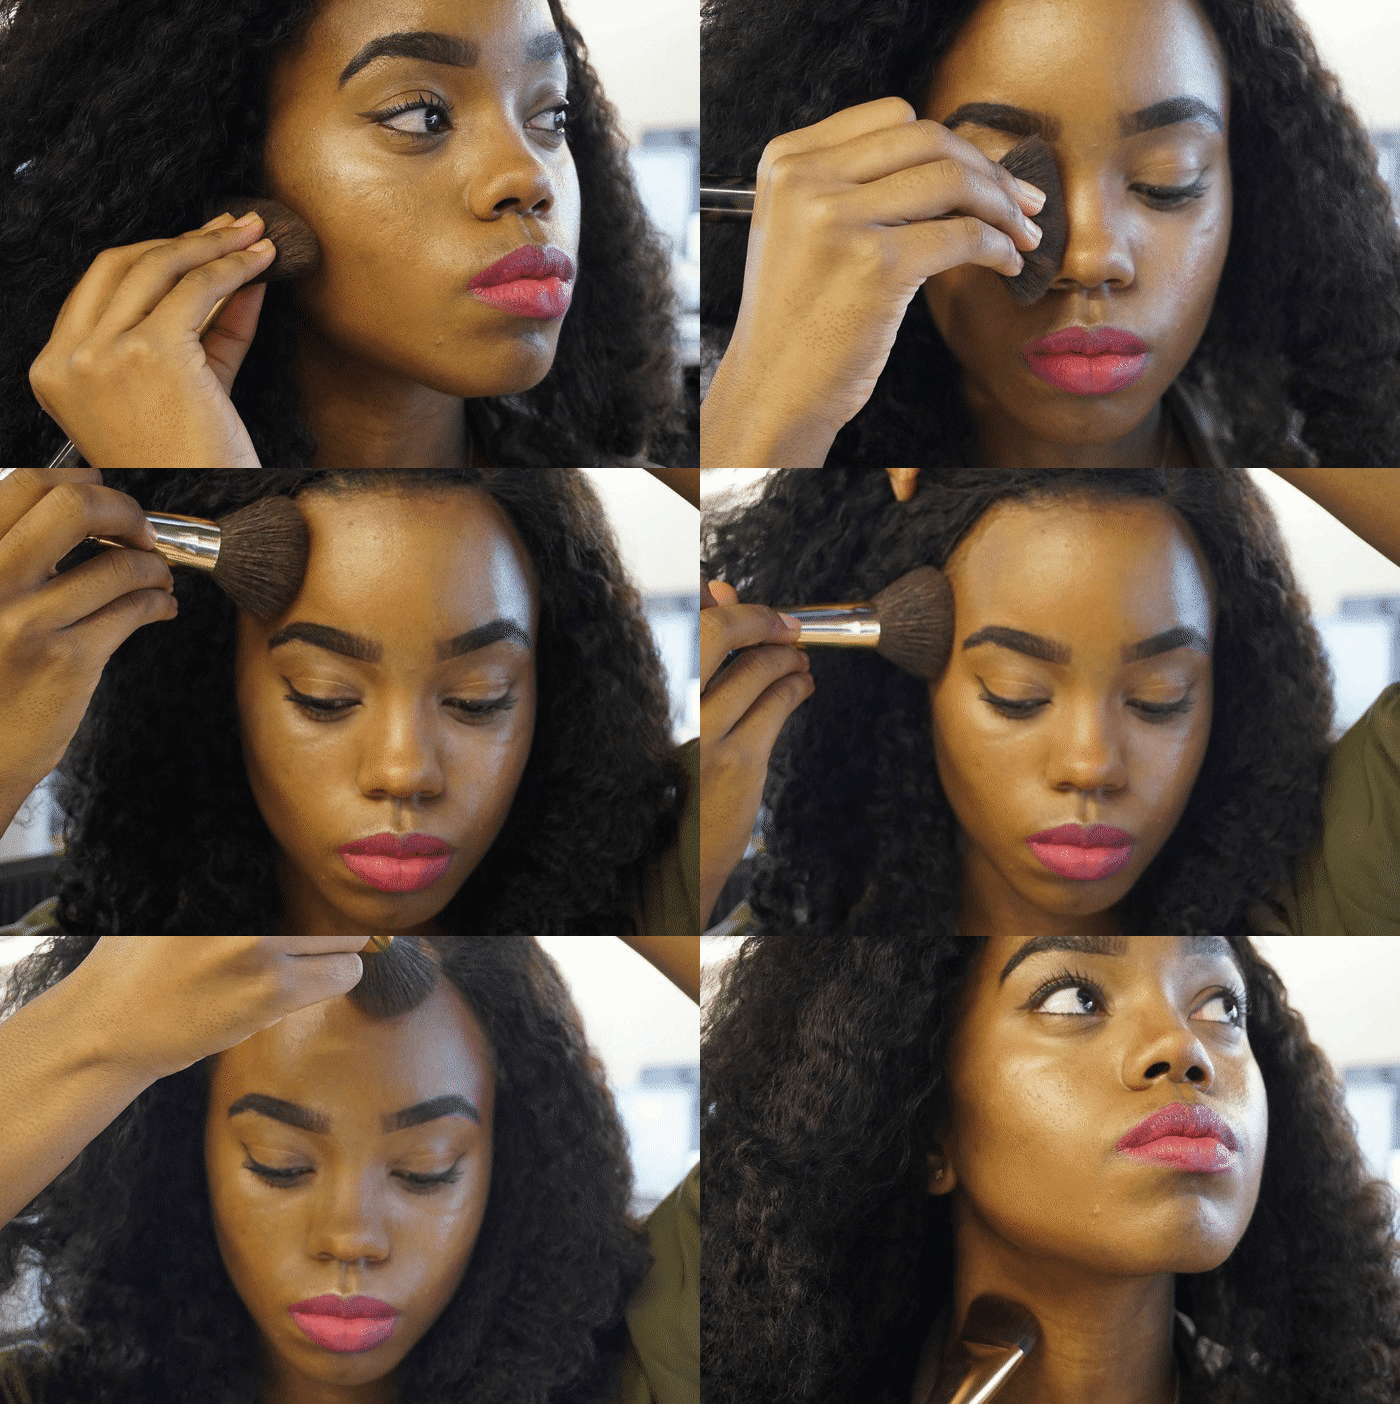
Once you’ve found your perfect shade, use an angled contour brush to define your cheeks. To find the area you want to contour, suck in your cheeks and focus on the area that creates a shadow in the hollows of your cheeks. Two soft strokes in the hollows of your cheeks are enough to make the contour look natural.
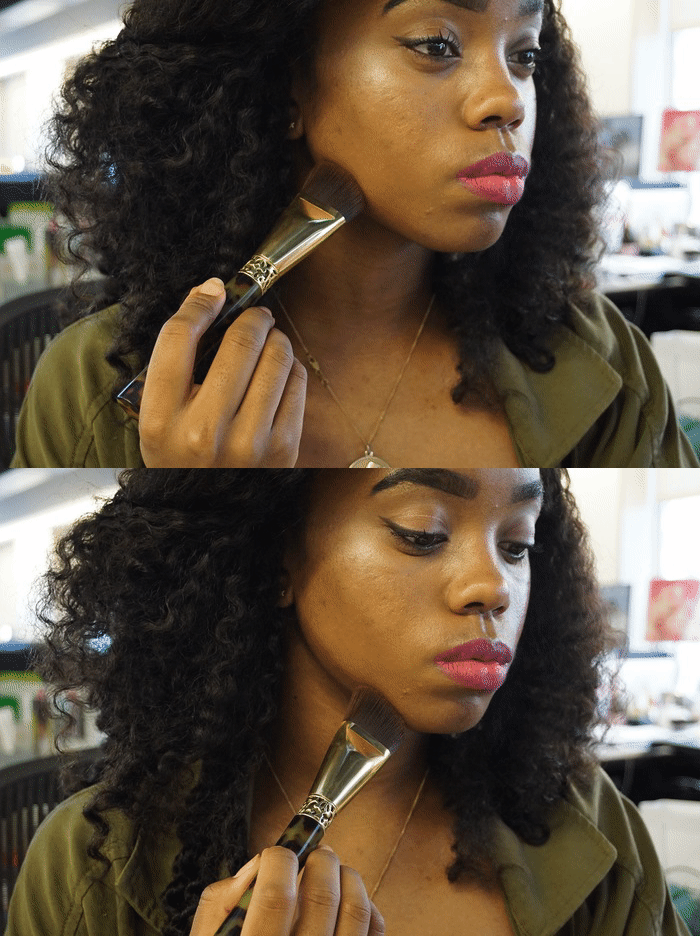
To define your jawline use the same contour brush to lightly draw the brush up and down your jawline from the base of the jawbone to the chin. Remember that the color transfer shouldn’t be very obvious—light strokes are the key to a natural looking contour.
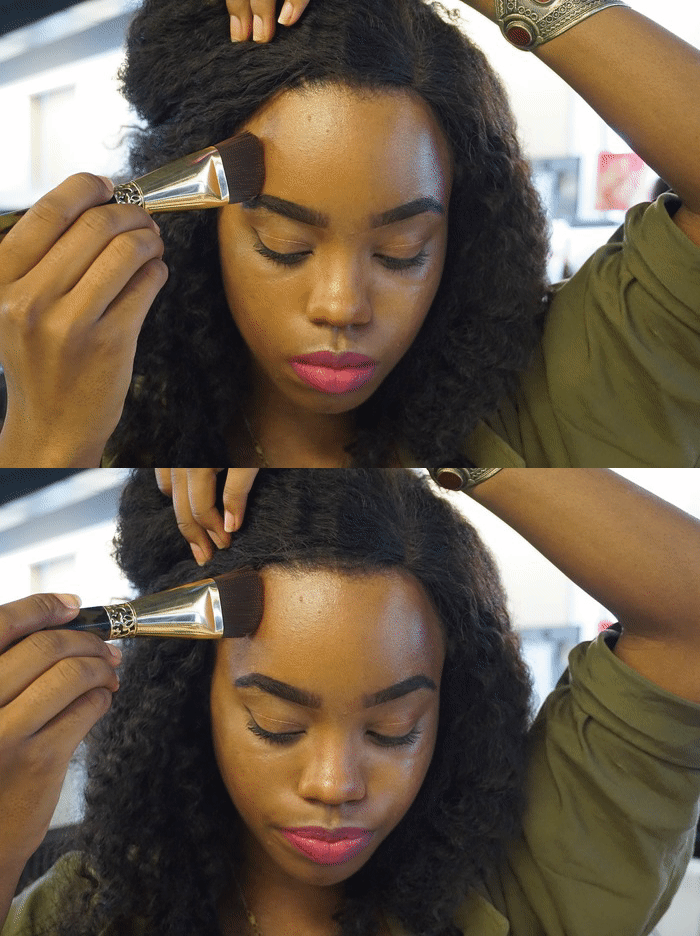
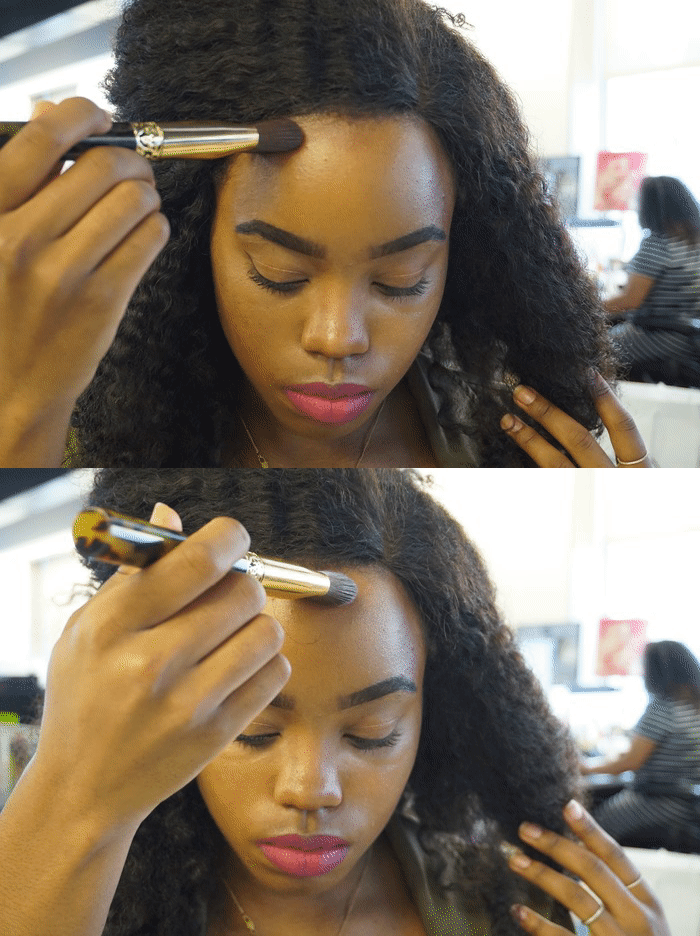
If your face shape is squarer than you’d like it to be, you can add softness and definition, and make your cheeks more prominent by shadowing your temples. Using downward strokes, shadow the outer corners of your forehead down into your temples and the tip of your cheekbones.
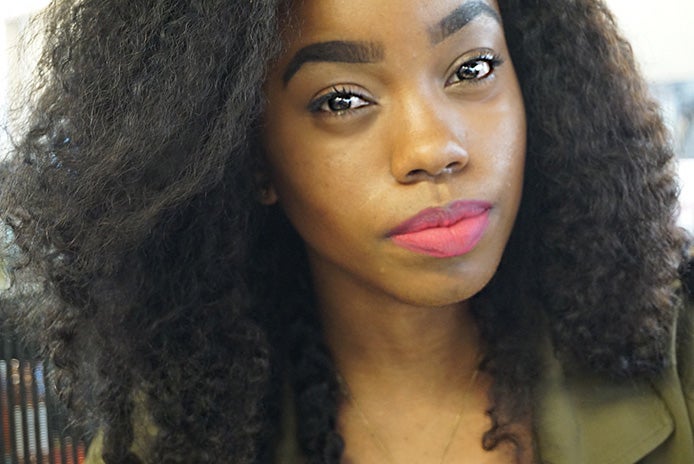
Mist your face with a setting powder or add more definition by highlighting the high plains of the face. Remember that contouring is not a one-size fits all deal—you won’t need to contour everywhere, nor will you need to contour in the same way for every occasion. Play around with light and shadows to find the look that suits you best.
Unsure of how highlight properly? Check out our Black Girl’s Guide to Strobing with celebrity makeup artist, Porsche Cooper.
