We’re sure that by now you’ve seen them. Photos of colorful boards, of all shapes and sizes, filled to the brim with cheeses, crackers, meats and more. A quick search for cheese boards on Instagram will have you falling down a sweet and savory rabbit hole of charcuterie goodness for hours (seriously, there are currently over 600,000 posts).
Obviously there’s lots to love about cheese boards and they can definitely be a hit at brunch with your girls, but how do you even get started creating such a foodie masterpiece? The art of thoughtfully curating cheese boards can seem so daunting and fills our minds with endless questions. How many cheeses should I choose? Will salami pair well with honey?
No need to worry, if you’re looking to get into the cheese board game so you can wow guests at your next event (and score a few likes on IG), we’ve put together a few tips that will help you create a picture-perfect board in no time.
Board Perfection

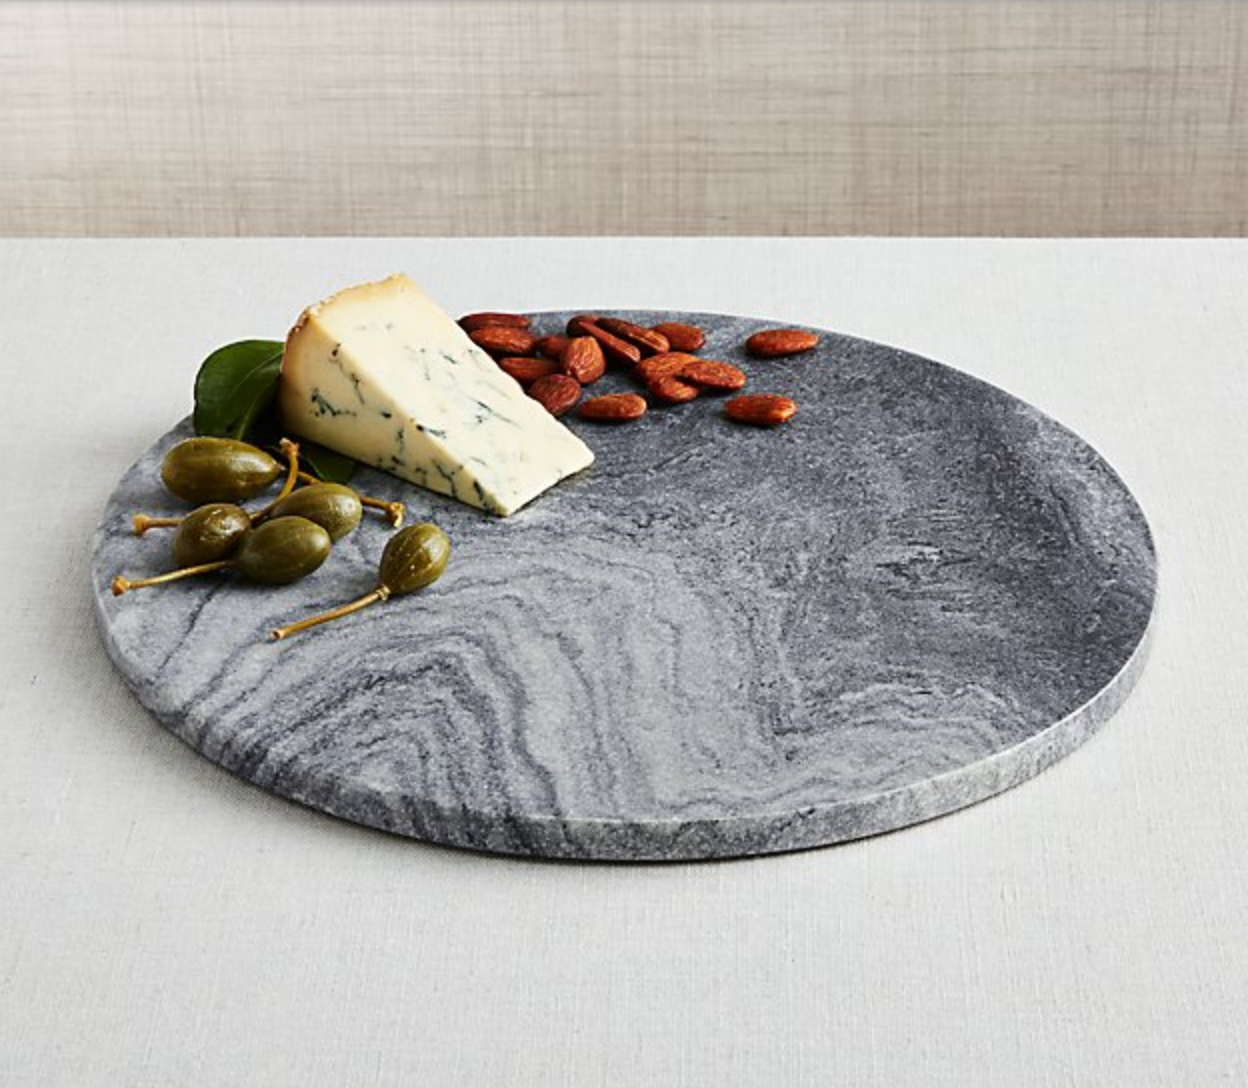
The first step to creating a chic charcuterie platter is finding the perfect board to artfully arrange your goodies on. Marble and slate boards are best because their cold surface helps keep the cheese from getting mushy, but wood surfaces are definitely a fan favorite as well. Also, don’t forget the importance of proper tools like cheese knives and spreaders. Don’t be afraid to pick something that shows off your personal style.
Create A Theme

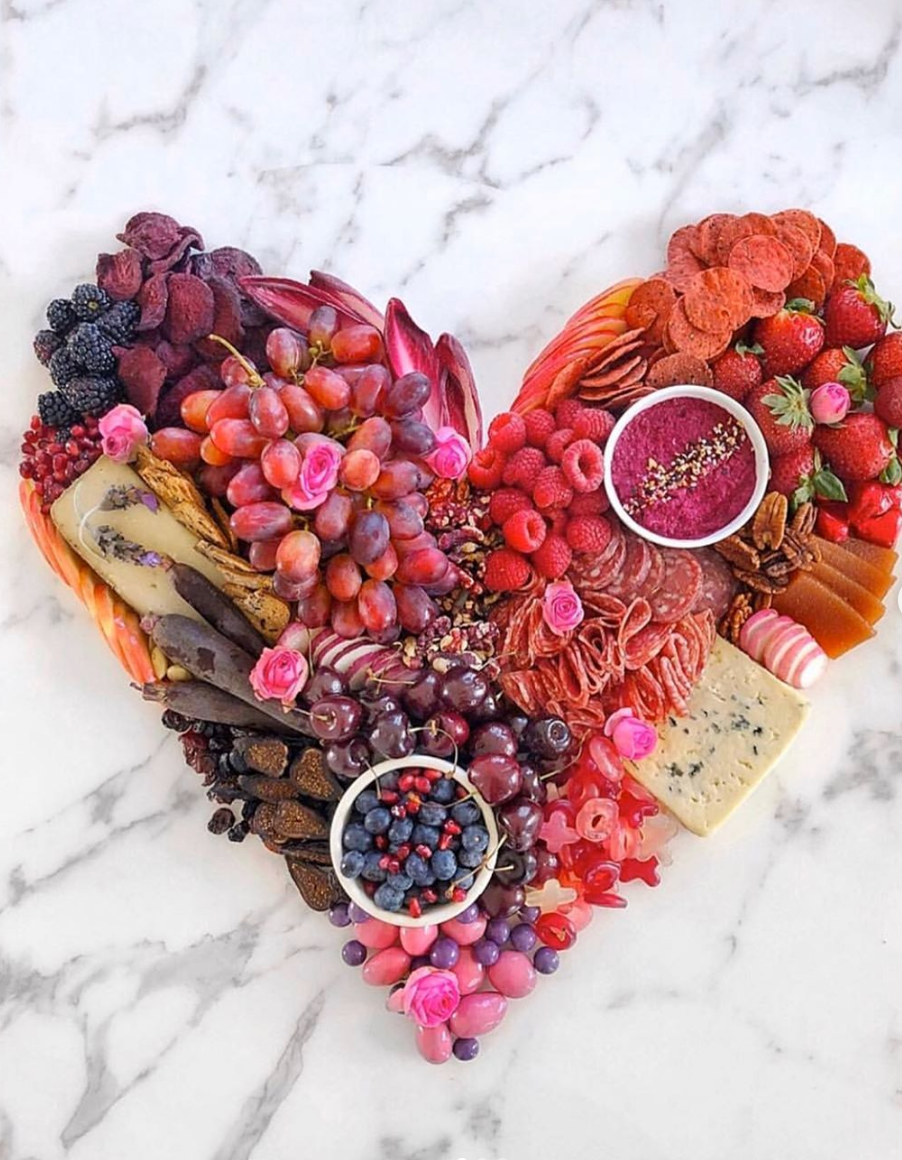
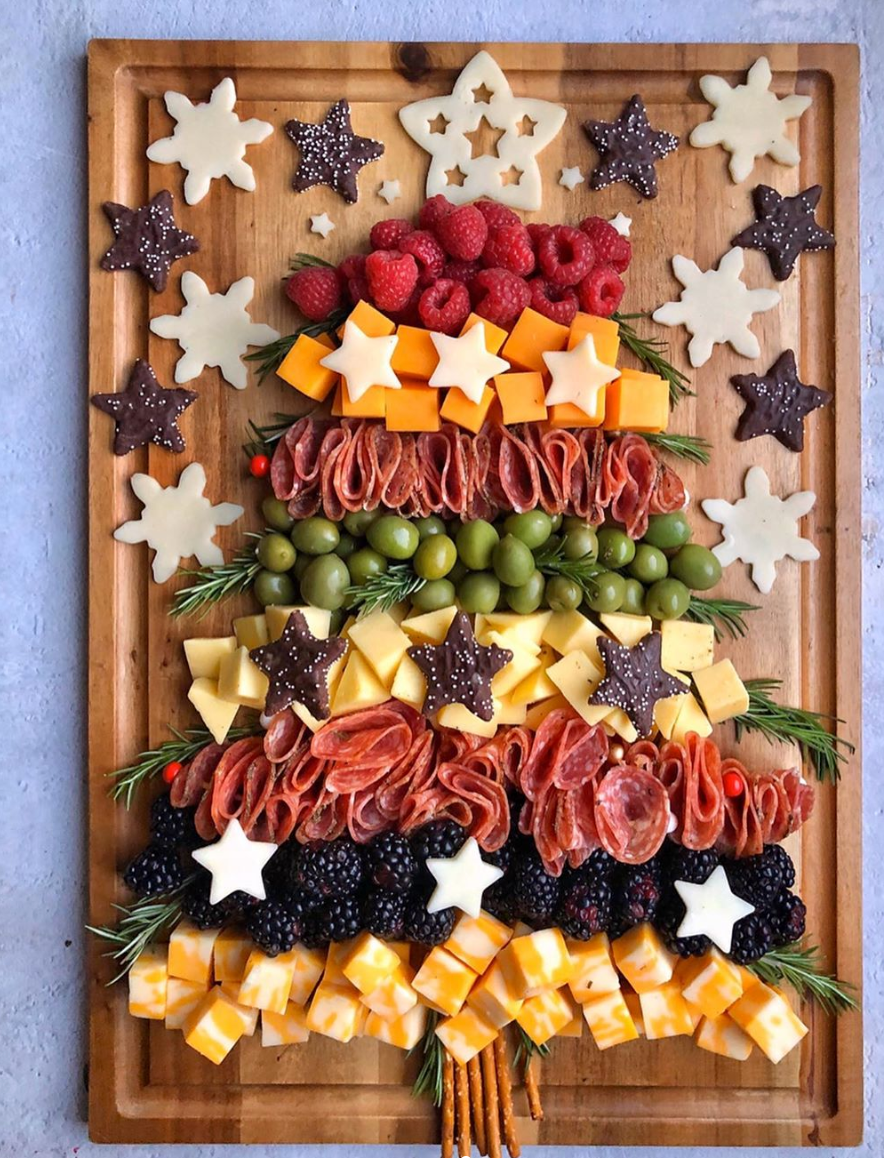
Think about what you want your cheese board to look like. Do you want the colors of the cheeses and dips you add to reflect a holiday? Or maybe you want to create a flavor map with sweeter dessert cheeses on one half of the plate and the more savory cheeses on the other. Laying out a game plan before you shop so you can pick out products that look good together on the board.
Cheese And Beyond

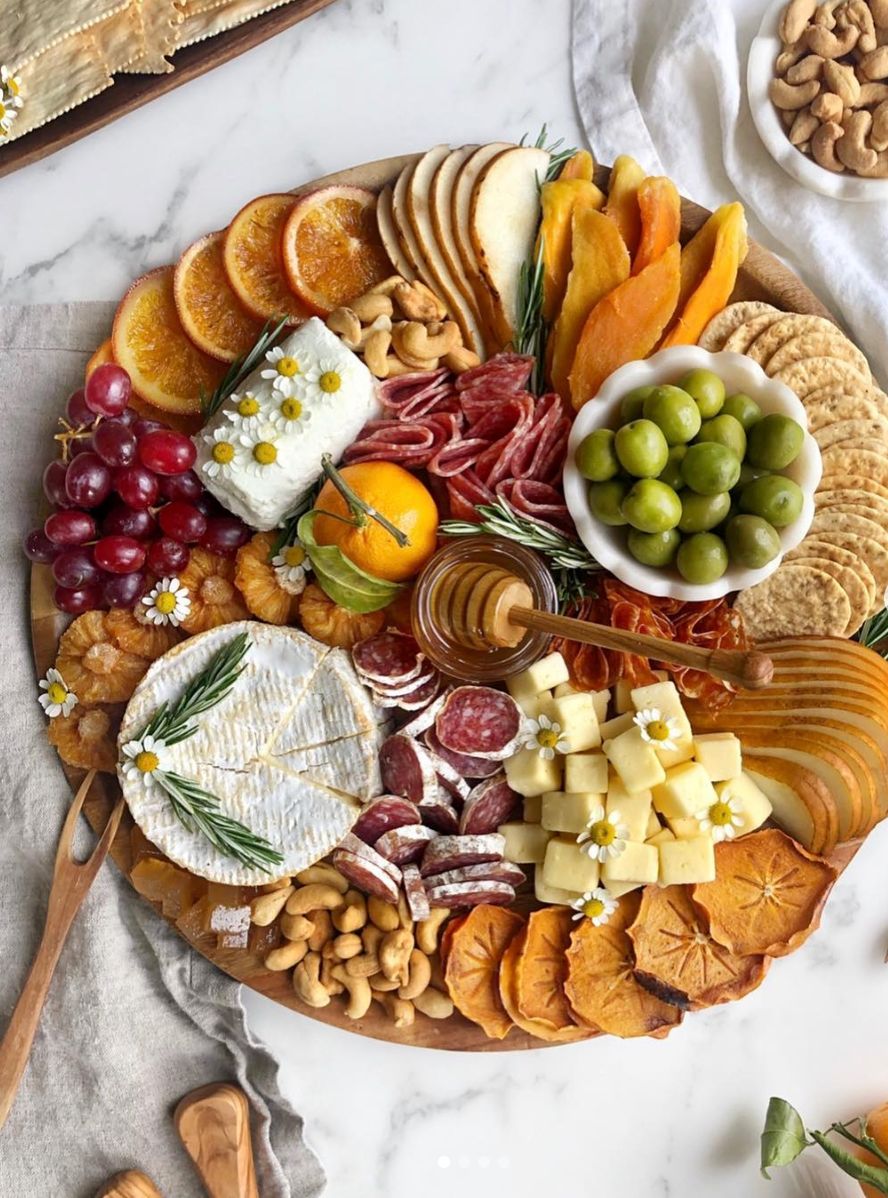
Naturally, the most important part of any cheese board is the cheese, so you want to make sure that you have four to five varieties for guests to dip into. However, don’t forget about your extras. Load up your board with fresh fruit, nuts, and condiments such as honey and jam. Slices of toasted baguette, various shapes, and sizes of crackers, and of course meats like salami and prosciutto also add color and texture to your board beyond cheese.
Arrange Your Board

You’ve got your board, your tools and of course, your cheese – now it’s time for the fun part. Arranging your board is where you get to show off your creative side. Create swirls, smiley faces, whatever you want, just have fun with it. If you’re not sure how to start, our rule of thumb is to start with cheese, then condiments, followed by extras, and layers to create movement. Remember to fill every inch of your cheese board, the more full and lush it looks, the better!